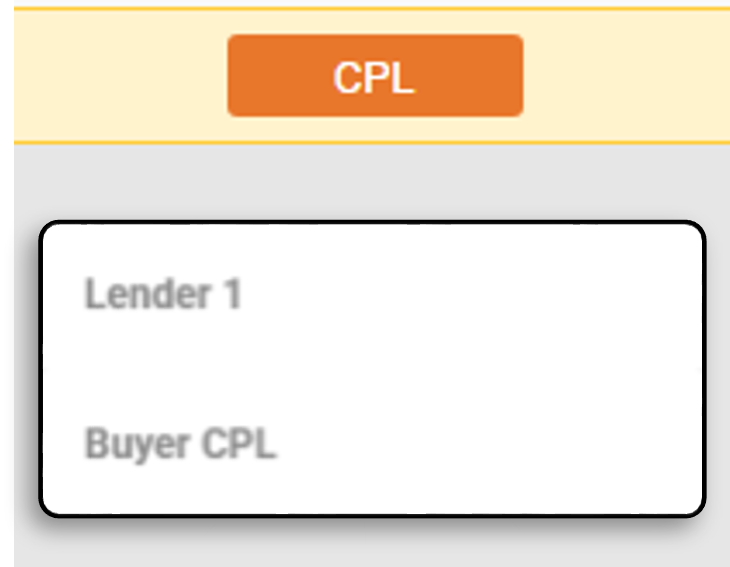
CPL button
Selecting this button will allow you to issue a CPL for the seller (if available), buyer (if available), or lender.
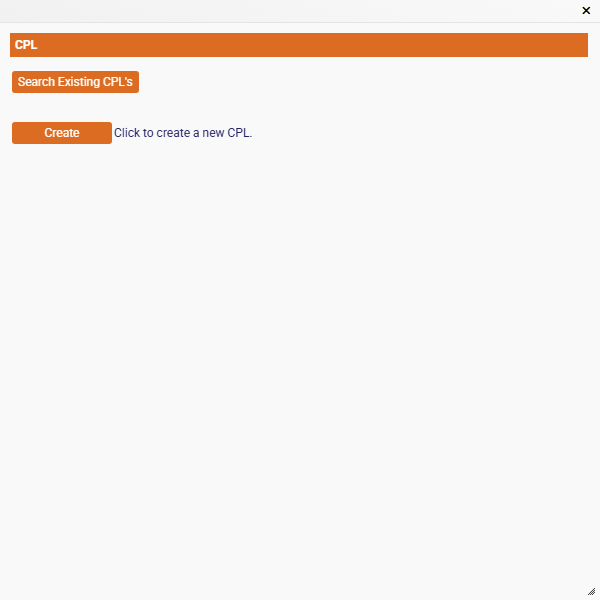
Select the party to generate the CPL. If there are multiple lenders on the file, the lenders will appear with a number corresponding to which lender they are shown as in the Lender Policy Details at the bottom of the GEN INFO tab. Once selected, a pop-up window will appear, click the "Create" button to get started.
This will launch the CPL setup screen, there are several options available; however, most of the time, you will just click the "Issue" button without making changes. Review the fields below to understand when they should be changed.
CPL Name
This field will auto-populates with the informaiton entered into the File Name field from the GEN INFOtab.
Date Issued
This field will populate once the CPL is issued and will contain the date that the "Issue" button was pressed.
ATGF Agent Name
This field will auto-populate with agency information from the Firm Settings screen.
ATGF Agent Address
This field will auto-populate with agency information from the Firm Settings screen.
Lender Name
This field will auto-populate with agency information from the Lender Details screen.
Combine loans(for same lender)
Check this box if there is more than one loan on the file for this lender. When checked, EPIC will locate the duplicate lenders and combine the two pieces of loan information onto one CPL.
Lender Address
This field will auto-populate with agency information from the Lender Details screen. If necessary, this information can be edited from the CPL window or by pulling up the lender details and updating the CPL address information.
Attention
Enter the name of the party or department that will be receiving the CPL here.
Reference to loan #
This inforamation is pulled directly from the Lender Details section of the GEN INFO tab. If informaiton is missing here, close the CPL window and update the loan information for the lender and re-enter this screen.
Borrower Name(s)
The information in this field is pulled directly from the Purchaser/Borrower name/address of the Commitment Detials section on the GEN INFO tab. If the information is not correct on this screen, it is recommended that you do not edit it here. Close this screen and update the Purchaser/Borrower information using the "Enter/Edit" button. When complete, re-launch the CPL screen.
Borrower Address
This will display the address for the first Purchaser/Borrower listed in EPIC. If this is missing or incorrect, close this screen and update the Purchaser/Borrower information using the "Enter/Edit" button. When complete, re-launch the CPL screen.
Company and Address providing closing services if other than ATGF Agent
This field should never be completed unless another title agent is doing the closing. If this is filled out, it will trigger a manual review and prevent the issuance of the CPL until reviewed and approved by ATGF underwriting staff.
After all of the above options have been reviewed, click "Issue". As long as there are no manual review triggers active on the file, the CPL will issue and open in your browser.